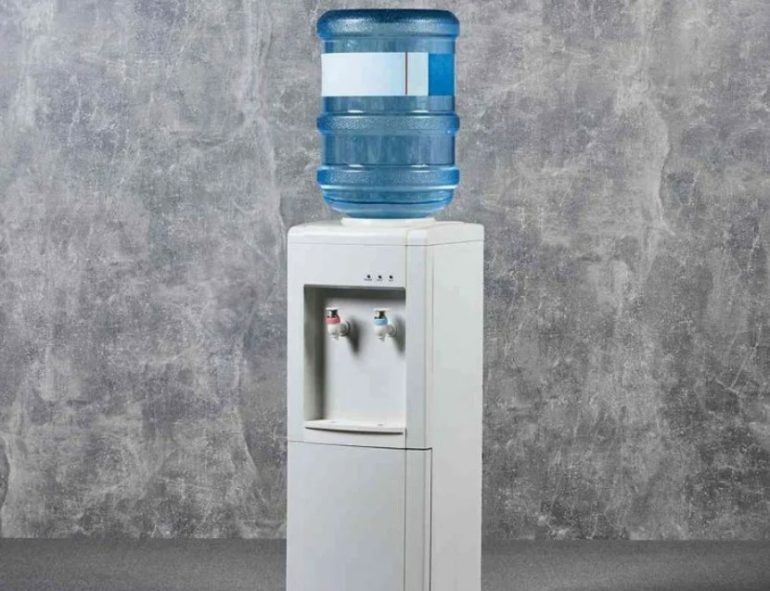
Every kitchen has its own corner for convenience, and sometimes these corners bring small challenges. You might find yourself craving cold water, only to press the button and discover nothing happens. The mind races with possible solutions, picturing wires, parts, and maybe even some spilled drops. In this guide, let’s walk through the process with clear steps, so that any owner of a NewAir WCD-210BK Water Dispenser knows how to handle a sticky cold button.
Setting Up Your Workspace and Gathering Tools
Preparation makes any repair easier. Make sure you have a dry cloth, a screwdriver, and a flashlight ready before starting. Put the dispenser on a stable counter or table so you can see every detail without stretching or straining. Disconnect the power cord and the water jug; this protects you and keeps the area neat.
- Unplug the dispenser from the outlet.
- Remove all bottles and empty the drip tray.
- Lay down a towel to catch any water drops.
First Look: Identifying the Problem
Examining the cold button gives clues about its condition. Some buttons get stuck due to dirt or residue, while others might have a broken internal spring. Take a close look—sometimes pressing the button while the unit is unplugged allows you to notice whether it moves freely or feels jammed.
A gentle push can reveal if the button clicks or remains silent, indicating a stuck or disconnected part.
Opening the Panel for Inspection
To access internal mechanisms, you’ll need to remove the front or side panel of the dispenser. Usually, screws around the button area secure these parts in place. Use your screwdriver to gently loosen them, taking care not to scratch the plastic. Once open, check for wires that may have slipped out or connectors that need tightening.
- Unscrew panels and set aside parts carefully.
- Examine wire attachments and the button’s base.
- Clean any visible dust with a dry cloth.
Repairing and Replacing Parts
Sometimes, the fix is as simple as snapping a wayward wire back in place. If you see a broken spring, you might need to replace it with a matching one from a hardware store. For damaged buttons, replacement kits designed for NewAir units often offer a quick solution. Handle all new parts gently to avoid bending or breaking anything during installation.
| Problem | Solution |
|---|---|
| Button is stuck | Clean and lubricate moving parts, reassemble carefully |
| Broken spring | Replace with a similar size spring, secure firmly |
| Disconnected wire | Attach wire and ensure a snug fit |
| Worn-out button | Install new button using compatible replacement parts |
Testing the Cold Button Functionality
Once the parts are back in place, gently press the cold button before reattaching the panel. Listen for a click or observe any movement that suggests proper restoration. If everything looks as it should, close up the dispenser, reconnect the water jug, and restore power to the unit. Try dispensing cold water to confirm the issue is resolved.
- Make sure the button responds with a smooth touch.
- Watch for leaks or unexpected noises.
- Repeat pressing to ensure long-term fix.
Maintaining Your Dispenser After Repair
Routine checks help prevent future troubles. Wipe the button and panel regularly using a dry cloth, and never use too much force when dispensing water. If you notice stickiness or resistance, investigate early to stop problems from growing. For lasting performance, schedule a brief inspection every few months.
Regular care ensures your dispenser keeps working reliably, one button press at a time.
Following the steps in this guide helps you approach Fixing the Cold Button on NewAir WCD-210BK Water Dispenser with confidence. After repairing, you’ll improve the comfort of your kitchen and extend the life of your appliance. Trust the process and use patient hands for each step. Even if this journey involves unexpected challenges, it’s possible to handle them with simple tools and careful actions.